
Understanding J Cuts and L Cuts in Video Editing
As a videographer or video editor, you should always strive to create a smooth and seamless video that accurately tells your message in an engaging way for your audience. Truthfully, the way you edit your video can make all the difference in the world.
There are many different tools you can use while editing a video and J cuts and L cuts are some of those tools that you should have in your editors toolbox.
J and L cuts are a valuable tool for any level of video editor. But what exactly are J cuts and L cuts and how can they be used to tell your story more effectively? Let’s take a closer look.
What is a J Cut?
A J cut is a type of editing technique in which the audio from the next scene is heard by the audience before the visual or picture cuts to that scene.
This means that the audio from one scene continues to play while the visuals transition to another scene.
The audio from the previous scene can start to fade out slowly as the audio from the next scene slowly fades in but that isn’t always the case. This creates a smooth transition from one scene to the next, helping to build a narrative and create a more engaging video.
What is a L Cut?
If a J cut is a cut where the audio from the next scene is heard by the audience before the picture cuts to that scene, what do you think an L cut is? An L cut is a type of editing technique that is essentially just the opposite to the J cut.
In an L cut, the audio from the previous scene continues to play while the visuals from the next scene take over.
The audio from the previous scene plays over the visuals from the next scene, and then slowly fades out while the audio from the new scene fades in. This creates a seamless and engaging transition between scenes and helps to build a coherent narrative.
When to use J and L Cuts?
Both J cuts and L cuts are highly effective editing techniques that can be used to enhance the storytelling aspect of your video while keeping your audience engaged. Using a J cut can be especially useful when you want to create a sense of continuity between scenes or create a build-up of tension. For example, a J cut can be used to set up a scene change, such as cutting from a character’s reaction to a new location.
On the other hand, L cuts are ideal when you want to create an emotional impact or a dramatic effect in your video. This can be anything from a character’s reaction to a visual or audio cue that sets up the next scene. Both techniques help to create a smoother flow and help grab and retain the viewer’s attention.
How to Use J and L Cuts in Premiere Pro
If you’re using Premiere Pro, using J and L cuts is pretty simple. First, you need to have both audio and video clips on the timeline. Then, you extend the audio track of the outgoing clip to overlap the clip you wish to transition into (creating a j-cut).
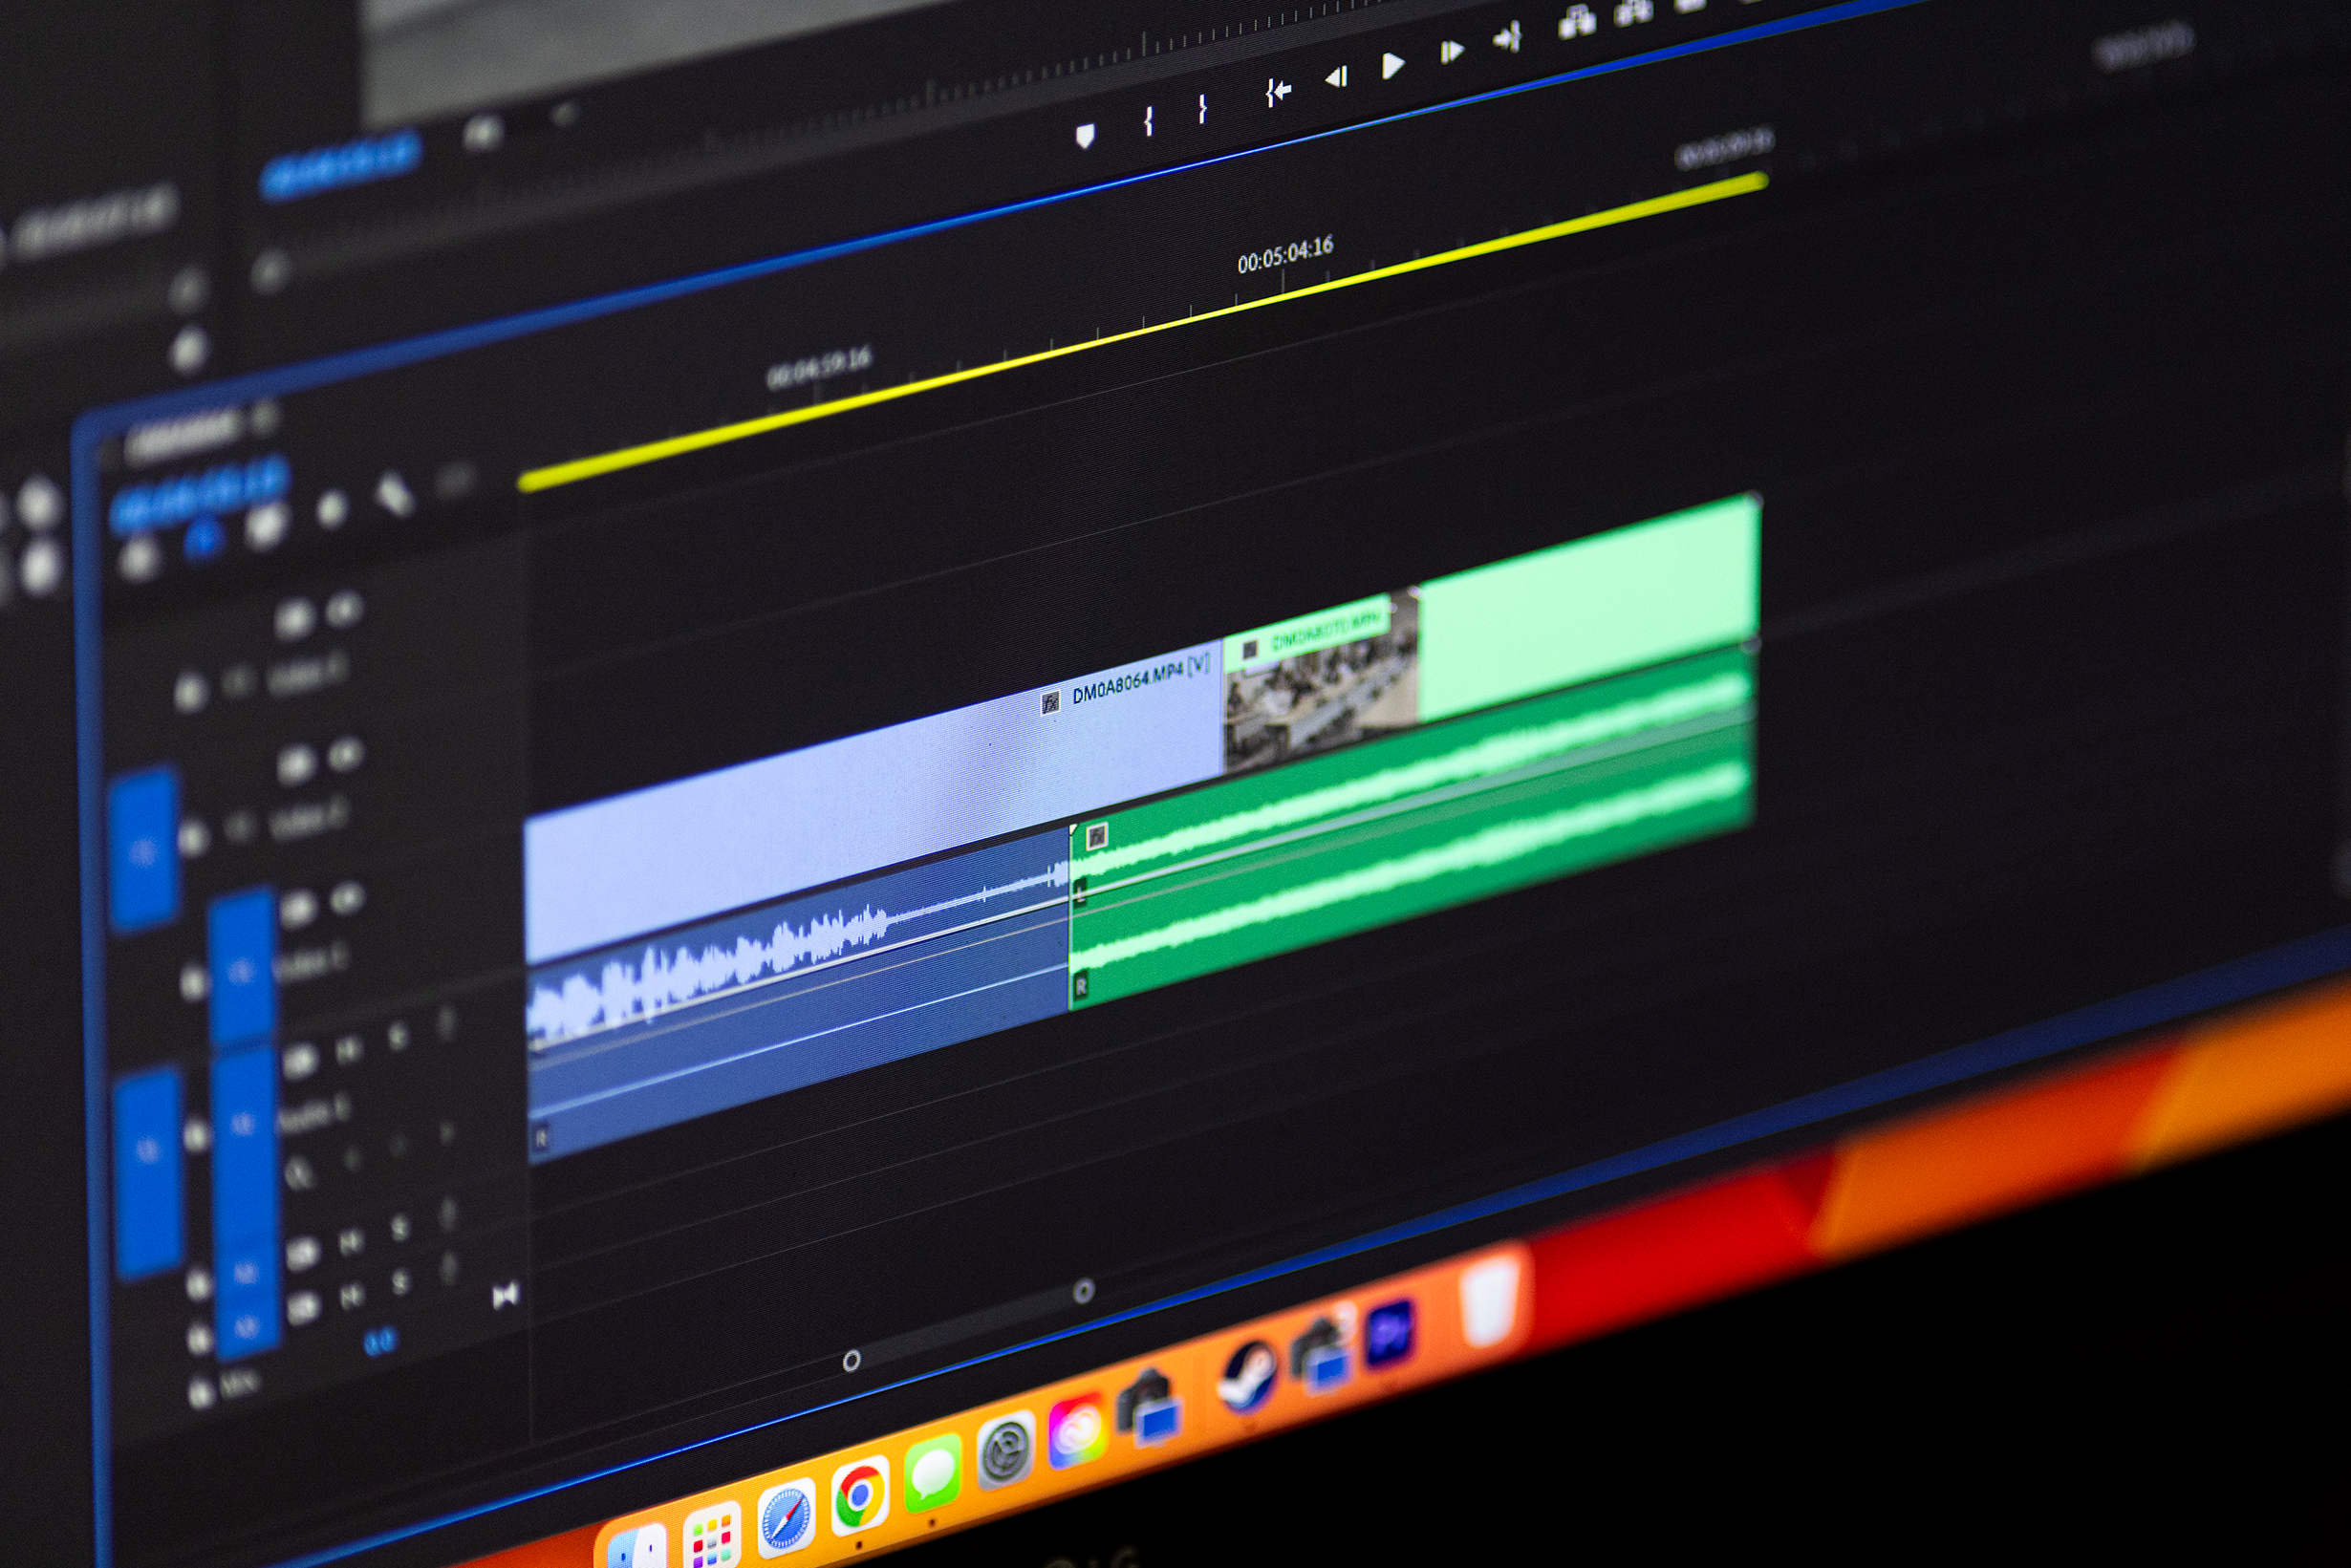
Here is an example of how a J cut would look in your timeline:

Alternatively, you could shorten the incoming clip’s audio track to overlap the outgoing clip (creating an l-cut). From there, you can adjust the audio levels to create the smooth transition you desire.
Here’s an example of how an L cut would look in your timeline:

J and L cuts are effective ways to create seamless transitions in your videos while keeping your audience engaged. You should use them sparingly – meaning not every cut should be a J cut and an L cut, but knowing when and how to use them will bring your videos to a new level.
Know that they make it easier to tell a story, transition between scenes, and create a more engaging overall video.
By utilizing these techniques in Premiere Pro, you can create video content that keeps your audience glued to their seats. As a video editor, mastering the art of J and L cuts can be what sets you apart and distinguishes you as a pro.
Homework:
Now, if you’ve read along this far I thank you but I want to leave you with an assignment. The next time you’re watching anything, see if you can notice any J cuts or L cuts being used in the production. Try and figure out why it worked (or didn’t work) and see if you can take away anything from that example to apply to your own video editing.
Happy editing!
Let's Work Together!
If you’re looking for a videographer or video editor to help you with your next video project, I would love to talk to you about it! Head on over to my contact page or email me at peter@watchpvk.com to get the conversation going!